This page may contain affiliate links to legal sports betting partners. If you sign up or place a wager, FOX Sports may be compensated. Read more about Sports Betting on FOX Sports.
The FIFA World Cup joins in on the Fourth of July celebrations and fireworks as the round of 16 begins today. Four nations, two matches with a spot in the quarter finals on the line.
New users can claim more than $2,000 on these different sportbooks: FanDuel, DraftKings, BetMGM, bet365, Caesars Sportsbook and more.
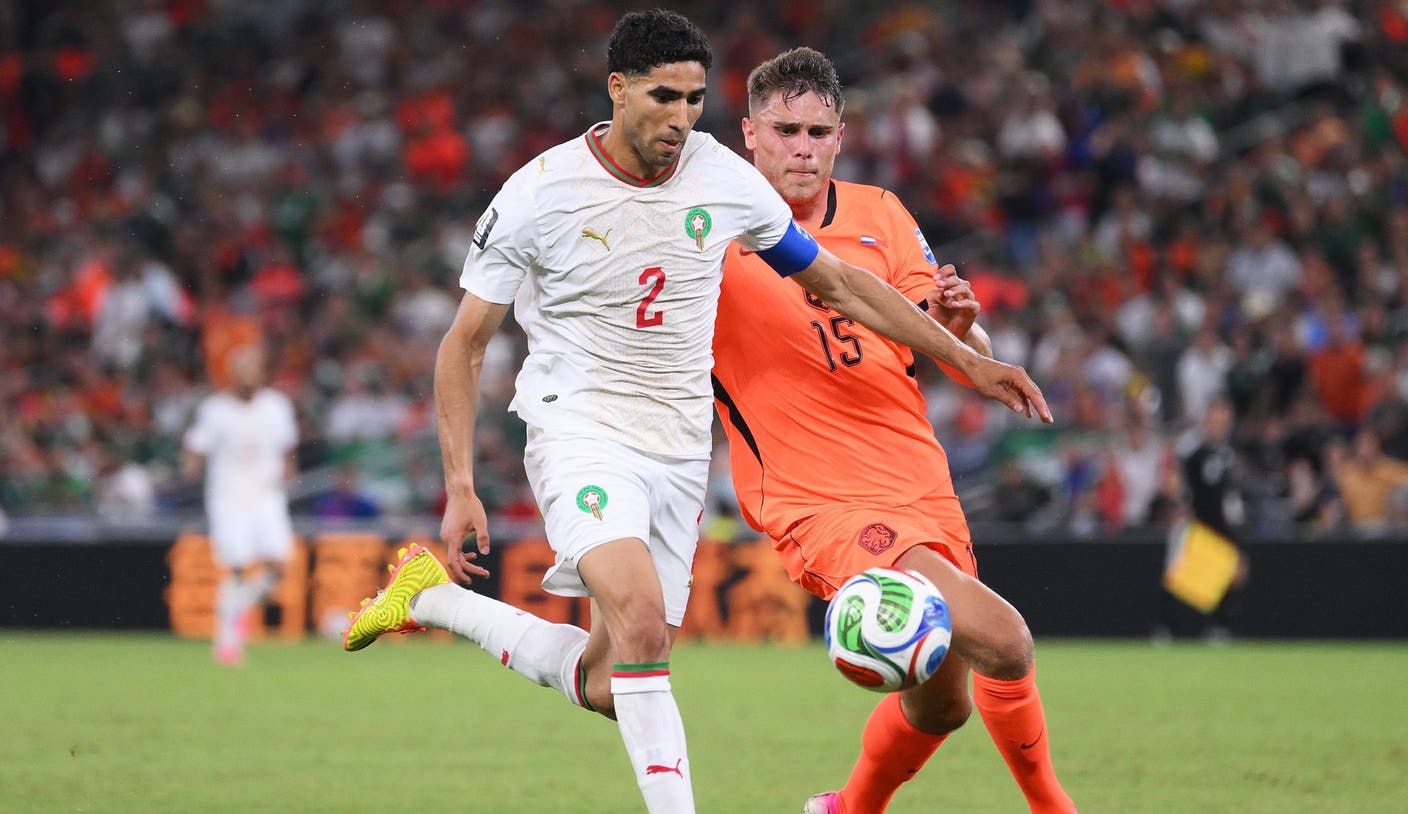
A highly-talented Moroccan team led by Achraf Hakimi, Ismael Saibari and others prevailed against Netherlands in their round of 32 match, and now have their focus on beating Canada.
Canada enters this round of 16 match led by Jonathan David, Cyle Larin, and Tajon Buchanan. Their captain, Alphonso Davies, could play a bigger role after returning from injury in their last match.
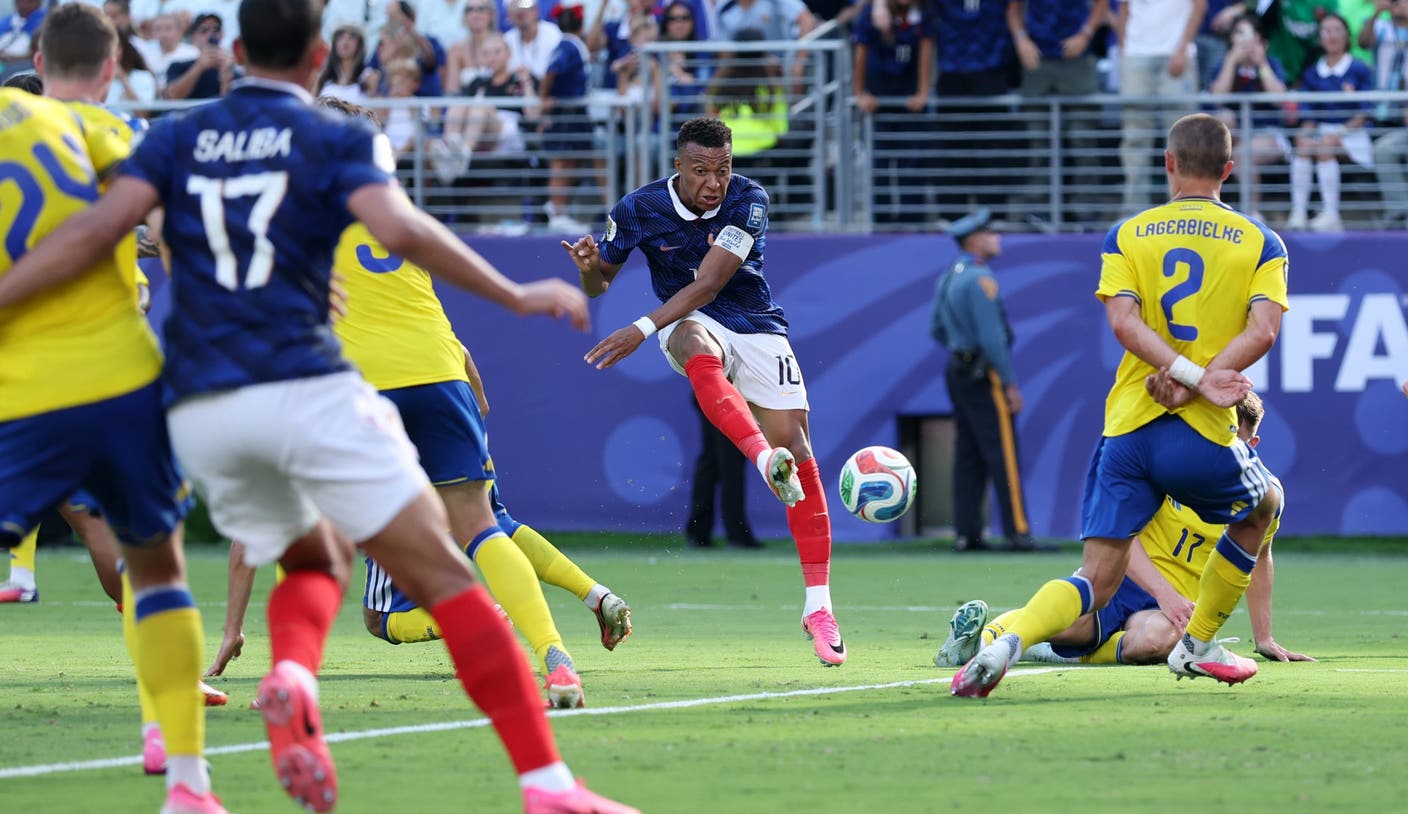
Paraguay has the odds stacked against them as they face a red-hot France side that has dominated this World Cup so far. Led by Kylian Mbappé, Ousmane Dembélé, Michael Olise France has netted three goals in every match so far.
Claim more than $2,000 in sportsbook bonuses and get in on Canada vs. Morocco, France vs. Paraguay, and the race to the World Cup quarterfinals.
Caesars Sportsbook
Sign Up and Claim the Caesars Sportsbook Promo Code
- Click here. This will take you directly to the Caesars Sportsbook betting app or website, where you can select your state. Make sure promo code FOXDYW is applied.
- Select Sign Up and create a new account by entering your personal details, including name, email, address, date of birth, and the last four digits of your SSN.
- If prompted, enter promo code FOXDYW to ensure the offer is applied.
- Place a $1+ cash wager on any eligible market.
- Receive 10 × 100% Profit Boost tokens in your account.
- Apply the boosts to wagers (up to $25 each) within 14 days to increase potential winnings.
Canada vs. Morocco Odds
*Odds may differ each site*
Moneyline
- Canada: +400 (bet $10 to win $50 total)
- Morocco : -125 (bet $10 to win $18 total)
- Draw: +240 (bet $10 to win $34 total)
Spread
- Canada +0.5: +100 (bet $10 to win $20 total)
- Morocco -0.5: -125 (bet $10 to win $18 total)
Over/Under Total Odds: 2.5
- Over: +124 (bet $10 to win $22.40 total)
- Under: -152 (bet $10 to win $16.58 total)
DraftKings
Claim the New User Offer No Promo Code Needed
- Sign up for a new DraftKings Sportsbook account.
- Deposit funds (minimum $5).
- Select the New Customer Token.
- Place a $5+ cash bet (-500 odds or longer).
- You will receive $200 in bonus bets instantly, regardless of the outcome of your qualifying wager.
- Works the same on desktop & mobile.
How to Watch Canada vs. Morocco
- When: Saturday, July 4, 2026, at 1:00 p.m. ET
- Where: Houston Stadium, Houston, Texas
- TV: FOX
- Stream: Watch 3 days free on FOX One, FOX Sports, FOX Sports App
Anytime Goalscorer Props
- Ismael Saibari: +155 (bet $10 to win $25.50 total)
- Ayoub El Kaabi: +190 (bet $10 to win $29 total)
- Soufiane Rahimi: +200 (bet $10 to win $30 total)
- Brahim Díaz: +235 (bet $10 to win $33.50 total)
- Jonathan David: +290 (bet $10 to win $39 total)
- Promise David: +360 (bet $10 to win $46 total)
To Advance
- Canada: +205 (bet $10 to win $11.54 total)
- Morocco: -260 (bet $10 to win $54 total)
FanDuel
Bet $5, Get $200 in Bet Reset Tokens for 5 Days
- Create a FanDuel Sportsbook account.
- Place one $5+ real-money wager each day for up to 5 days (must be between 3AM ET and 11:59PM ET).
- Earn a Bet Reset Token for each qualifying day—up to 5 total tokens.
- Apply your Bet Reset Token when placing a wager to activate protection.
- If your wager loses, you’ll receive a refund in Bonus Bets (up to $200 per token).
- Refunds are issued within 72 hours after bet settlement as Bonus Bets that expire in 7 days.
- Bet Reset Tokens expire 24 hours after being issued.
France vs. Paraguay Odds
*Odds may differ each site*
Moneyline
- France: -600 (bet $10 to win $11.67 total)
- Paraguay : +1700 (bet $10 to win $180 total)
- Draw: +600 (bet $10 to win $70 total)
Spread
- France -1.5: -160 (bet $10 to win $16.25 total)
- Paraguay +1.5: +125 (bet $10 to win $22.50 total)
Over/Under Total Odds: 2.5
- Over: -150 (bet $10 to win $16.67 total)
- Under: +122 (bet $10 to win $22.20 total)
bet365
How to claim bet365 Promo with Bonus Code ‘FOX365’.
- Click this “Claim Bonus” button to go directly to bet365.
- Select Sign Up and create a new account by entering personal details (name, email, date of birth, address, last 4 digits of SSN).
- Enter the bonus code FOX365 when prompted to ensure the offer is locked in.
- Make a minimum first deposit of $10 using an accepted payment method (PayPal, debit card, online banking, etc.).
- Place your first wager. For the Bet $10, Get $365 offer, place a $10+ real-money bet on any market with odds of -500 or longer; win or lose, you’ll receive $365 in bonus bets once it settles. For the $1,000 First Bet Safety Net, place your first real-money bet; if it loses, bet365 refunds the stake (up to $1,000) in bonus bets.
- Bonus bets are credited within 24 hours of the qualifying wager settling.
How to Watch France vs. Paraguay
- When: Saturday, July 4, 2026, at 5:00 p.m. ET
- Where: Philadelphia Stadium, Philadelphia, Pennsylvania
- TV: FOX
- Stream: Watch 3 days free on FOX One, FOX Sports, FOX Sports App
Anytime Goalscorer Props
- Kylian Mbappé: -200 (bet $10 to win $15 total)
- Ousmane Dembélé: +105 (bet $10 to win $20.50 total)
- Jean-Philippe Mateta: +110 (bet $10 to win $21 total)
- Marcus Thuram: +120 (bet $10 to win $22 total)
- Désiré Doué: +150 (bet $10 to win $25 total)
- Álex Arce: +650 (bet $10 to win $75 total)
To Advance
- France: -1800 (bet $10 to win $10.56 total)
- Paraguay: +1080 (bet $10 to win $118 total)
BetMGM
How to Sign Up and Claim the BetMGM Sportsbook Bonus Code
- Click here. This will take you directly to the BetMGM app or website and automatically apply the promo code.
- Select Sign Up and create a new account by entering personal details (name, email, date of birth, address, and last 4 digits of SSN).
- When prompted, enter the promo code FOXSPORTS to ensure the offer is applied.
- Make your first deposit of at least $10 using an accepted payment method (PayPal, Venmo, debit card, online banking, etc.).
- Place your first real-money wager on any eligible sport:
- If claiming the $1,500 First Bet Offer → refund is triggered only if the first bet loses.
- If claiming the $10/$150 Alt Offer → the bet must win to receive the $150 bonus bets.
- Bonus bets are credited to your account within 24 hours once the qualifying bet settles.


 –>
–>
 –>
–>
 –>
–>
 –>
–>
 –>
–>


 –>
–>