We have reached the 2026 World Cup final to cap off a memorable summer. That has us wondering: when will we see all these squads back in action when a trophy is on the line?
Want to know when is the next top competition for European squads like England, France and Spain? What about Argentina, Brazil, Colombia and the rest of South America? When could the USA and Mexico face off? What about teams in Africa and Africa? Let’s break it down:
Europe (UEFA)

(Photo by Alexander Hassenstein/Getty Images)
–>
2026-27 Nations League: The Nations League competition begins in September and will run through next summer. The tournament was created in 2018 to allow teams across the continent to play competitive matches throughout the year while featuring a form of promotion and relegation that is more associated with clubs.
The 2026-27 Nations League calendar begins with all qualified European teams (54 in all, with Russia suspended) starting with two group stage games each in September, October, and November. The quarterfinals will be in March 2027 and then the semifinals on June 9-10, 2027. The final and third-place match will be on June 13, 2027.
Cristiano Ronaldo and Portugal won the 2025-26 Nations League title over Lamine Yamal and Spain. Previous winners include Spain (2022-23), France (2021-22), and Portugal (2018-19).

(Photo by Richard Pelham/Getty Images)
–>
2028 European Championship: Held every four years, the Euros is the continent’s premier competition. The next edition will be held from June 9–July 9, 2028, and will be held across Great Britain (England, Scotland and Wales) and Ireland. Eight cities and nine stadiums will host the competition, with the final on July 9 at Wembley Stadium in London.
The defending champion is Spain, having defeated England 2-1 at the 2024 Euro held in Germany. It was Spain’s fourth title overall (1960, 2008, 2012, 2024) while England remains without a trophy in the competition. Germany has three titles while France and Italy have two titles, respectively. Six nations (Portugal, Greece, Denmark, Czechoslovakia, the Netherlands, and the Soviet Union) have one apiece.
USA, Mexico, Canada, Central America and the Caribbean (CONCACAF)

(Photo by Frederic J. Brown / AFP) (Photo by FREDERIC J. BROWN/AFP via Getty Images)
–>
2026-27 Nations League: The Nations League competition begins in September and will run through next summer. Much like the European edition, the tournament was created in 2019 to allow teams across the region to play competitive matches throughout the year.
The 2026-27 Nations League calendar begins with all 41 CONCACAF teams starting with two group stage games each in September and October. The quarterfinals will be in November, with the semifinals/third-place match/final held in March 2027.
Mexico won its first Nations League title in 2025 after the USA had won the first three editions.

(Photo by John Dorton/ISI Photos/USSF/Getty Images)
–>
2027 Gold Cup: Held every two years, the Gold Cup is the continent’s premier tournament. Details on the tournament such as the host nation or the number of teams have yet to be announced. In recent editions, teams from other continents – including Saudi Arabia and Qatar – have been invited to fill out the field.
Mexico defeated the USA, 2-1, last summer in Houston for its 10th title at the tournament. Only two other teams – the USA with 7, and Canada with 1 – have won the tournament.
South America (CONMEBOL)

(Photo by Carmen Mandato/Getty Images)
–>
2027 Copa América: The next official competition for the 10 South American sides – Argentina, Bolivia, Brazil, Chile, Colombia, Ecuador, Paraguay, Peru, Uruguay, and Venzuela – will be the 2028 Copa América.
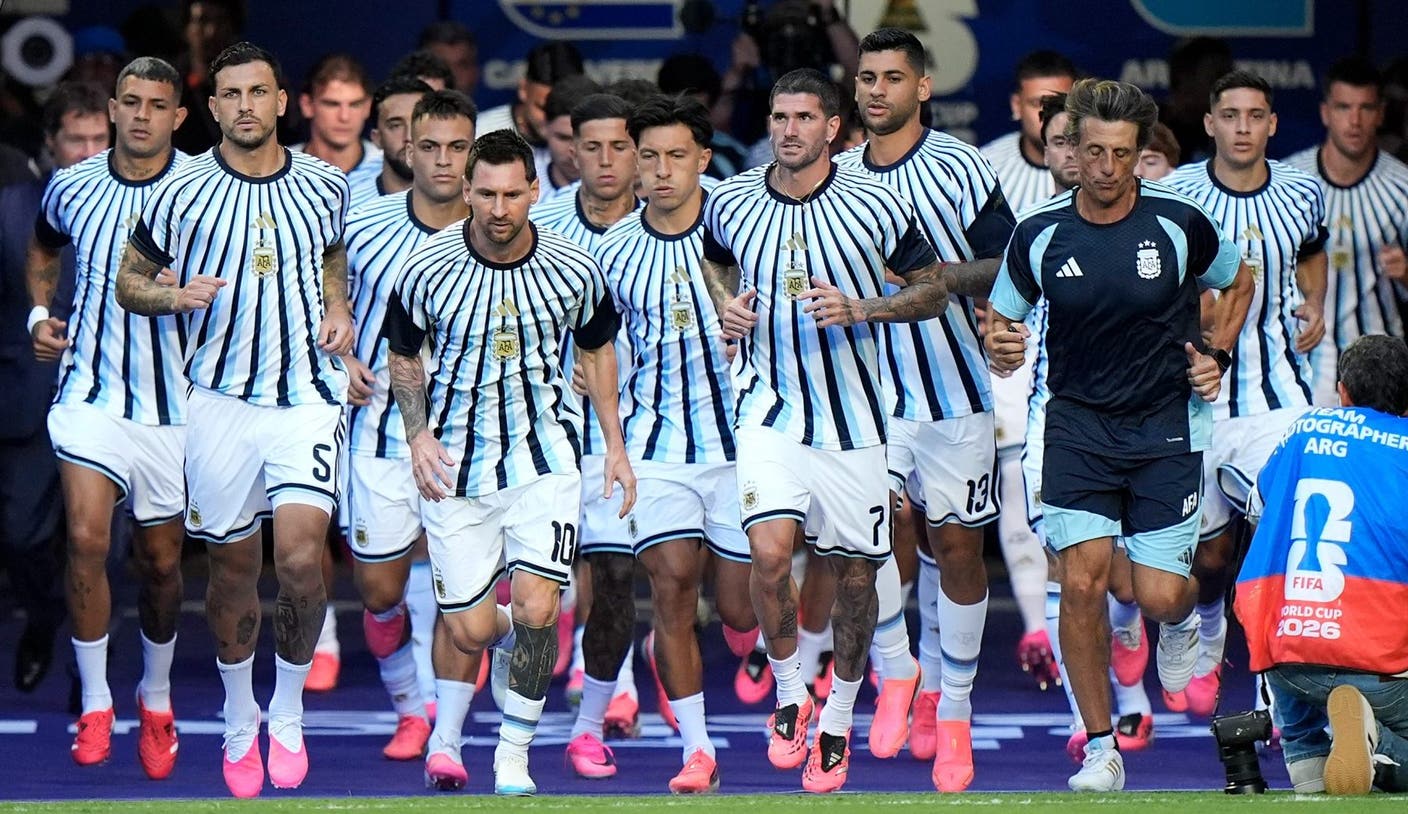
Lionel Messi and Argentina are back-to-back champions of the competition, including the 2024 edition that was held in the United States and featured a 16-team tournament, with six teams from CONCACAF joining the field.
The hosts or the number of teams for the 2028 edition has yet to be determined, although the USA has reportedly expressed interest in hosting again.
Overall, Argentina has won the competition 16 times – the most ever. Uruguay has 15 titles (the last being in 2011) while Brazil has nine (the last in 2019). Chile, Paraguay, and Peru have two each while Colombia and Bolivia each have one. Venezuela and Bolivia are the only South American teams to not have a title.
Africa (CAF)

(Photo by SEBASTIEN BOZON / AFP via Getty Images)
–>
2027 Africa Cup of Nations: The Africa Cup of Nations will make a switch to being held every four years and played during the summer after being a biennial event during the winter months.
Next year’s edition will be hosted by three countries – Tanzania, Kenya, and Uganda – and will be from June 19 to July 17, 2027.
The number of countries has yet to be announced, but the 2025 tournament had 24 teams. It was hosted in Morocco and had a controversial finish in which the hosts were awarded the title after Senegal was penalized for abandoning the final to protest a foul late in the game.
Egypt leads all teams with seven titles.
Asia (AFC)

2027 Asian Cup: The tournament will be FIFA’s first major men’s international tournament for 2027 as it will held from January 7 through February 5.
The tournament – held every four years – will once again include 24 teams, including hosts Saudi Arabia. The field also includes several of the confederation’s other teams that appeared at the 2026 World Cup – Australia, Jordan, South Korea, Japan, Iran, Iraq, Qatar, and Uzbekistan.
Qatar is back-to-back champions. Japan has four titles overall, while Iran and Saudi Arabia each have three. South Korea has two titles.
Oceania (OFC)
OFC Men’s Nations Cup: The confederation composed of mainly South Pacific island nations such as Fiji, Tahiti and New Caledonia – along with New Zealand – has yet to announce when it will next have its tournament. The last one held was in 2024 with New Zealand winning it to clinch its 2026 World Cup spot.
New Zealand has six titles while Tahiti has one. Australia has four, but left the confederation for Asia’s AFC in 2006.
Source


 –> ]–>